
Battles
Real-time battle tactics for Total War: SHOGUN 2 — terrain and elevation, formation choices, morale maths, siege escalation and naval engagement rules.
Introduction
Battles in SHOGUN 2 are decided before the lines meet, by terrain and by which army wins the ranged exchange. Elevation improves missile accuracy and tires attackers climbing it, woods hide flanking units, and a refused flank behind a hill removes the enemy's cavalry advantage for free. Morale is the second lever: units break when they are flanked, when their general dies, or when they are losing the missile duel, and a broken unit leaves the field entirely rather than fighting on at reduced strength. Sieges add successive defensive layers, so a castle must be taken courtyard by courtyard rather than with a single breach assault. Naval battles replace formation with boarding geometry, where the heavier hull that manages to grapple wins.
Battle Type Quick Reference
| Battle Type | What Decides It | Key Units |
|---|---|---|
| Open Field | Ranged duel and flank timing | Bow samurai, yari cavalry, katana samurai |
| Castle Assault | Escalation through wall lines and gates | Mangonels, no-dachi, yari ashigaru |
| Castle Defence | Gate holding and archer placement | Yari ashigaru in spear wall, bow samurai |
| Ambush | Deployment and removing reinforcements | Cavalry, kisho ninja, missile troops |
| Naval Engagement | Hull weight and boarding arcs | Medium bune, o-ataka bune, bow kobaya |
Battle Situations
Open Field Battle
The standard engagement, and the one where formation discipline decides the outcome fastest.
Castle Assault
Walled provinces, where the fight continues in the courtyard long after the first wall falls.
Castle Defence
Holding a province against a larger army with a cheap garrison and good gate discipline.
Ambush and Night Battle
Engagements where the enemy never gets to bring their full army to bear.
Naval Engagement
Sea battles resolved by boarding, where hull weight beats bow fire every time ships close.
Core Mechanics
Battle resolution in SHOGUN 2 runs on three systems simultaneously. Melee is a stat comparison modified by charge bonus, flanking direction and terrain, which is why a rear charge does far more damage than a frontal one even with identical units. Missile combat compares accuracy, range and armour, with elevation adding accuracy and woods blocking line of sight entirely. Morale sits above both: it drops when a unit is flanked, when it is taking missile damage, when the general is dead or distant, and when nearby friendly units break. Siegies extend the same rules across several layers of walls and courtyards, so the attacking army must sustain morale across multiple engagements rather than one. Naval battles substitute boarding, resolved by hull class and crew count once ships are grappled together.
Advantages
Understanding the battle layer converts campaign advantages into results. A clan that is behind on economy can still win field battles by fighting on chosen terrain with a cheaper army, which is the core skill of every successful small-clan campaign. Terrain is free and always available: a hill, a wood line and a refused flank cost nothing and remove entire enemy unit types from the fight. Morale mechanics also reward decisive strikes over attrition. Killing a general, flanking a unit that is already engaged or breaking one section of a line produces cascading collapse, which means a smaller army can defeat a larger one without trading unit for unit until the treasury runs out.
Challenges & Weaknesses
The battle layer punishes imprecision more than the campaign map does. Morale collapses are fast and one-directional: once two or three units break, the panic propagates and no reserve can restore the position. Siege assaults are extremely costly in the mid-game, where a well-defended castle can absorb an army twice its size and leave the attacker unable to hold the province it just took. Naval battles are the most fragile system of all, because a single grappled flagship loss can decide a fleet engagement and there is no way to disengage cleanly once ships are locked. Finally, the auto-resolve prediction is optimistic in exactly the situations where manual control matters most, so trusting it quietly loses campaigns.
Frequently Asked Questions
Should I fight battles manually or use auto-resolve?+
How do I win a siege without losing my whole army?+
What is the best battle formation?+
How does morale actually work in battle?+
Quick Tips
Anchor your line on terrain before you place a single unit. A refused flank behind a hill or wood costs the enemy their cavalry advantage for free, because horses cannot charge into a slope without losing momentum and cannot flank a position they cannot see. If the map offers no terrain, use your own missile troops as the anchor and keep the flanks narrow enough that they can be covered by a single unit each.
Win the ranged duel before you close, and treat the result as the predictor of the whole battle. Archer superiority decides morale long before the lines meet, because units taking unanswered missile damage lose morale continuously and break earlier when melee starts. Focus fire one enemy missile unit at a time until it routs, rather than spreading damage evenly across their line.
Attack the enemy general as a priority target, not an afterthought. Removing the morale aura turns an evenly matched fight into a collapse, and cavalry that reaches the enemy general early can end the engagement before the infantry lines ever fully commit. If their general is behind the line, use light cavalry or a fast flanking unit rather than pulling your main line out of position.
In sieges, expect courtyard fighting after the walls fall. Bring enough melee to clear successive defensive layers rather than just one breach, and keep missile troops firing over the wall into the packed defenders. A garrison that is losing still fights longer inside a castle than in the field, so plan for a second and third engagement inside the same battle.
Featured
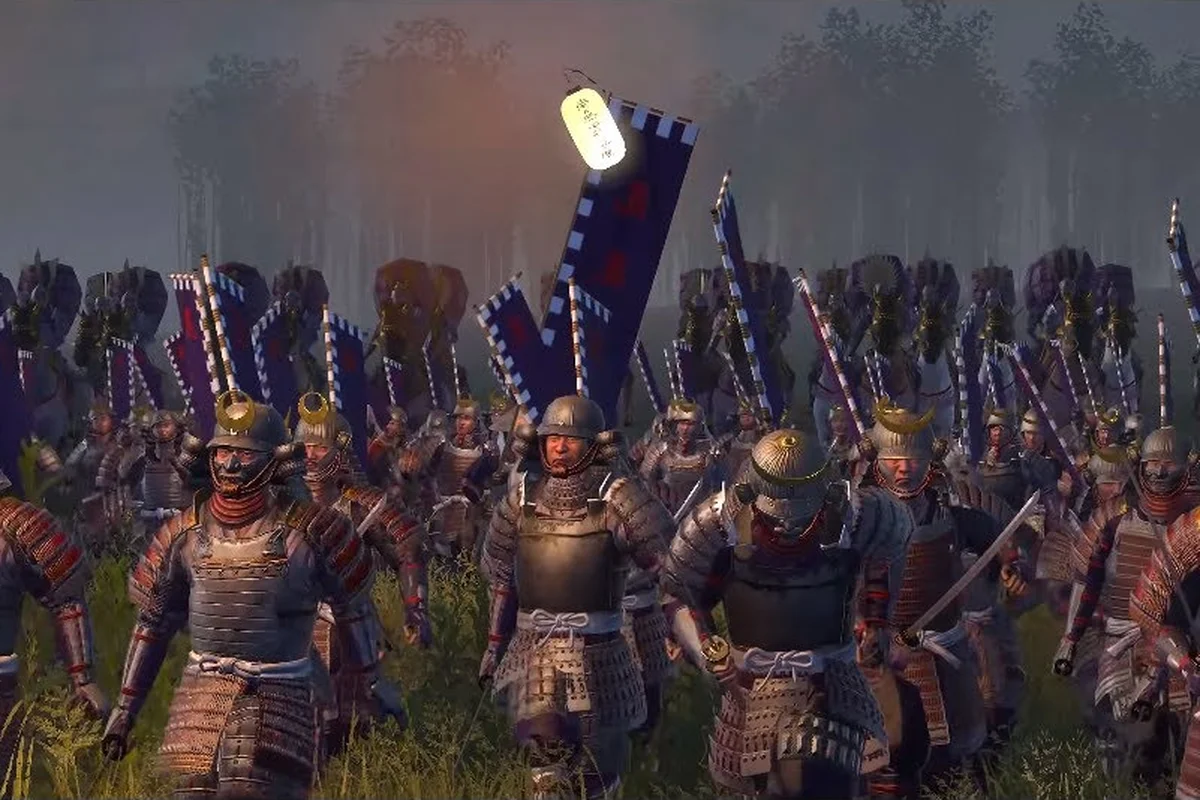
Total War: SHOGUN 2 Battle of Nagashino & Sengoku Clashes
Replay the iconic Shogun 2 Battle of Nagashino alongside Anegawa and Kawagoe, learning the gunpowder tactics that reshaped Sengoku warfare.
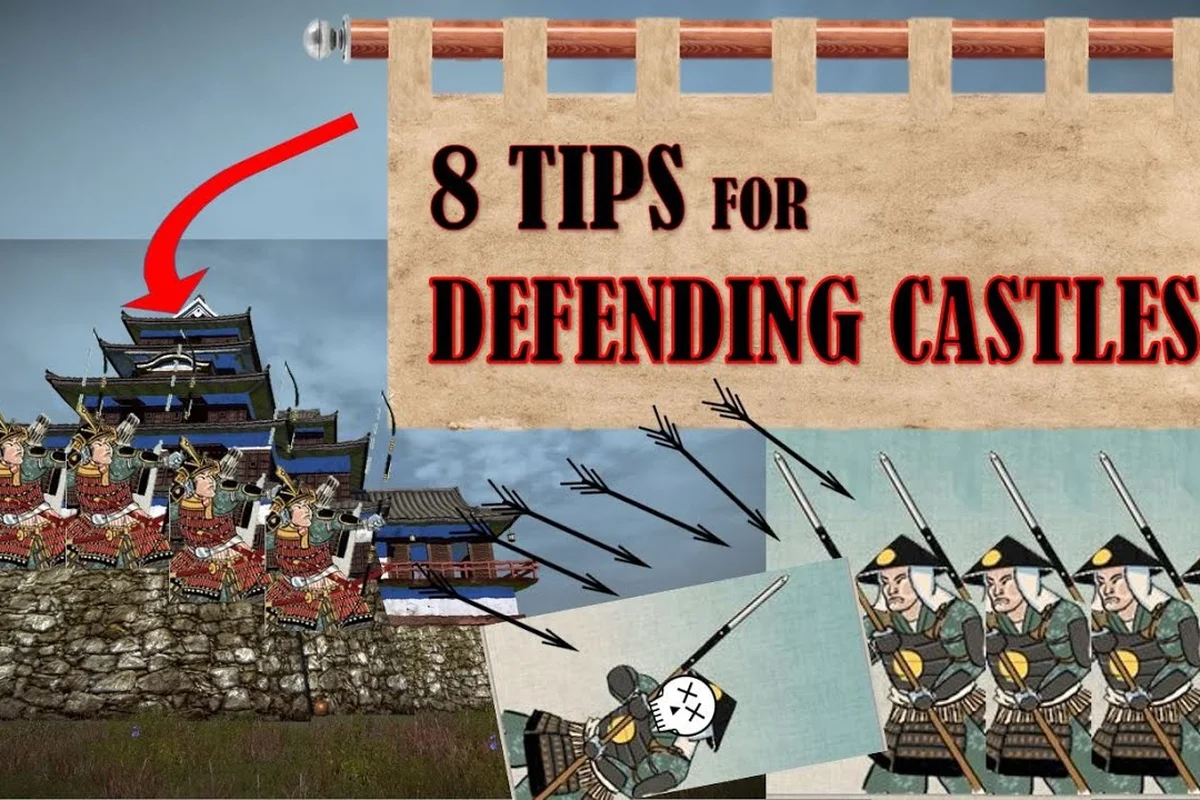
Total War: SHOGUN 2 Castle Defence Tactics: Siege Holds & Ships
Lock down every fortress with Shogun 2 castle defence tactics, from garrison stacking and archer towers to ship boarding moves and ambush setups near port.
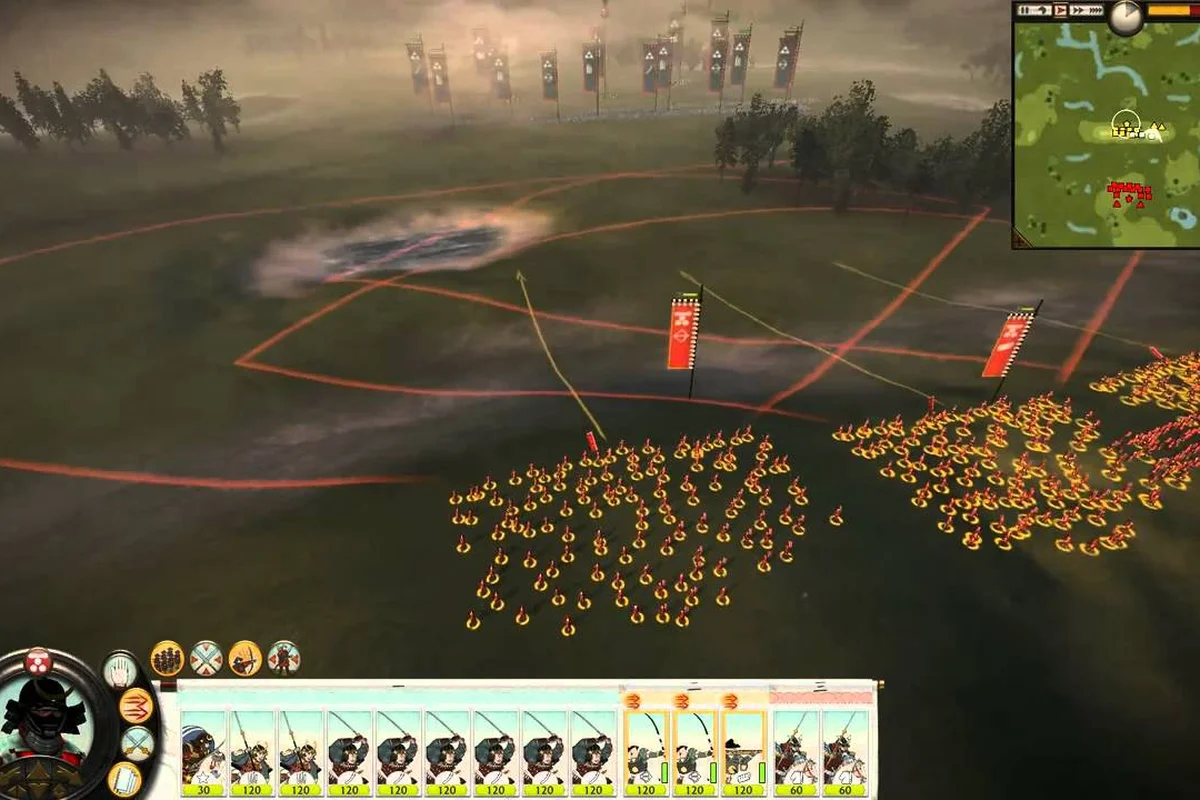
Total War: SHOGUN 2 How to Control Reinforcements in Battle
Take command of every arrival with this Shogun 2 how to control reinforcements playbook, pairing general ability picks, battle difficulty, and reinforcement timing.
All Articles
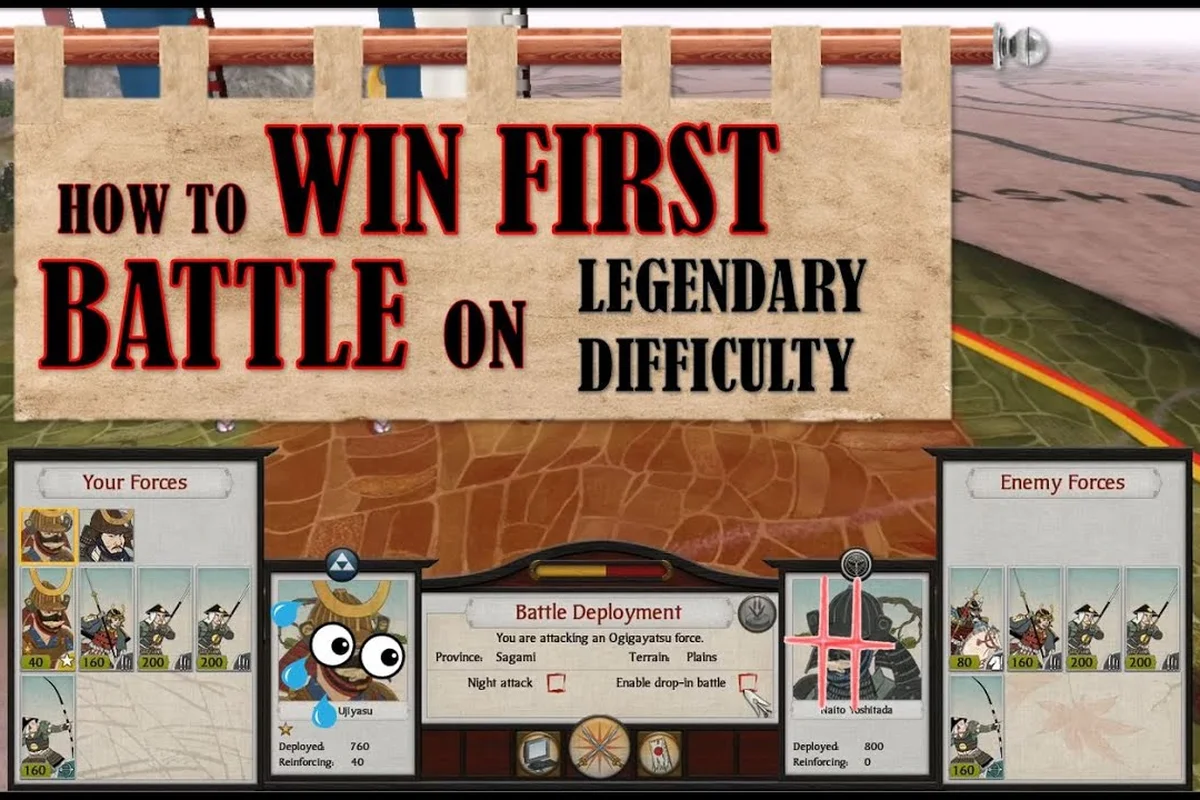
Total War: SHOGUN 2 Battle Tactics: Spears, Formations & Wins
Master Total War Shogun 2 battle tactics with proven spear wall setups, ashigaru vs samurai matchups, and formation tricks that decide close-fought engagements.
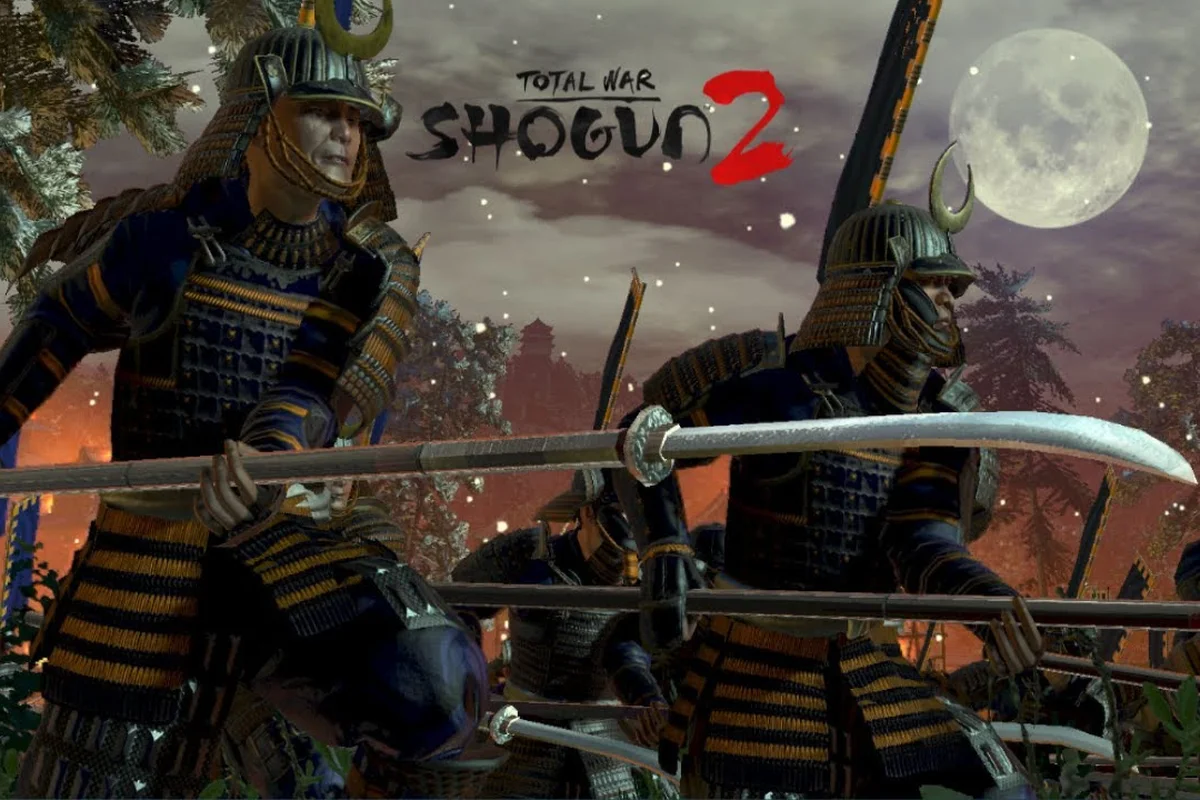
Total War: SHOGUN 2 Flanking Guide: Cavalry & Hammer-Anvil
Pull off clean envelopments in this Shogun 2 flanking guide, covering cavalry charges, archer positioning, and how elevation bonuses flip close battles.
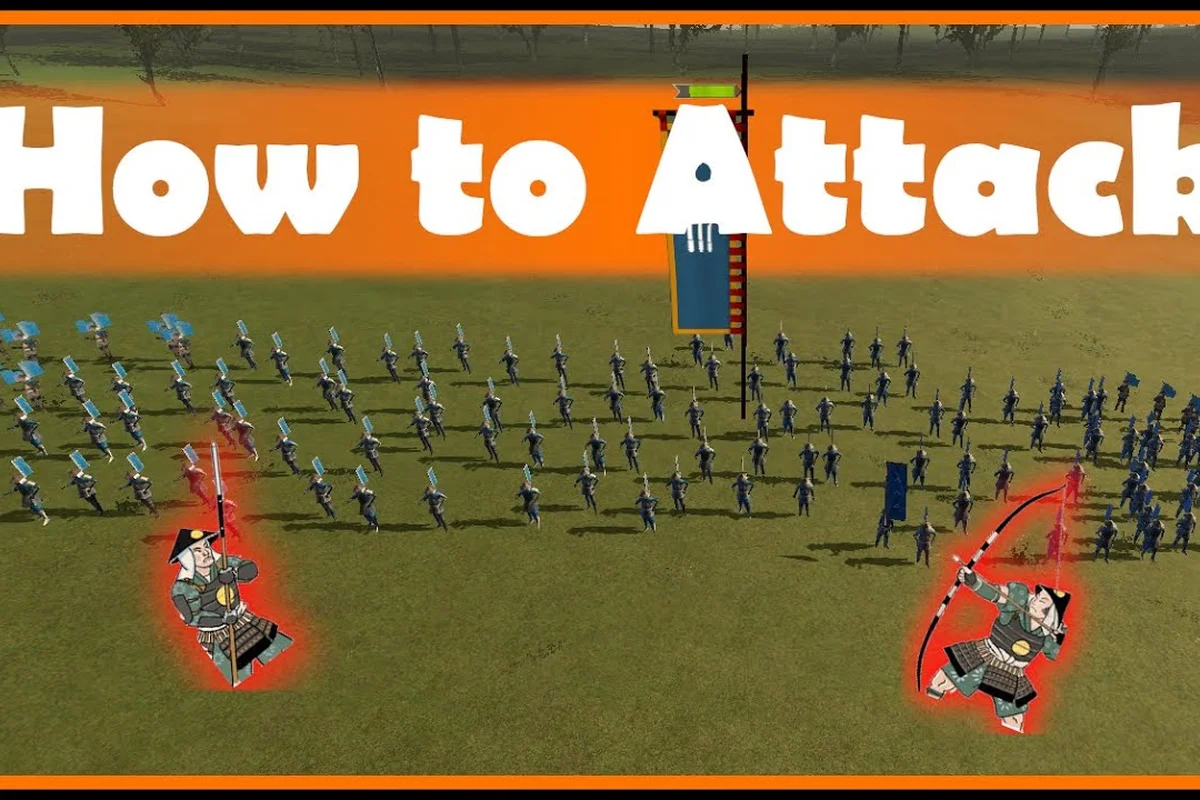
Total War: SHOGUN 2 Morale Break Guide: Routing & Sieges
Crush enemy lines with this Shogun 2 morale break guide, learning how to shatter unit cohesion, time charges, and assault castle walls without bleeding men.
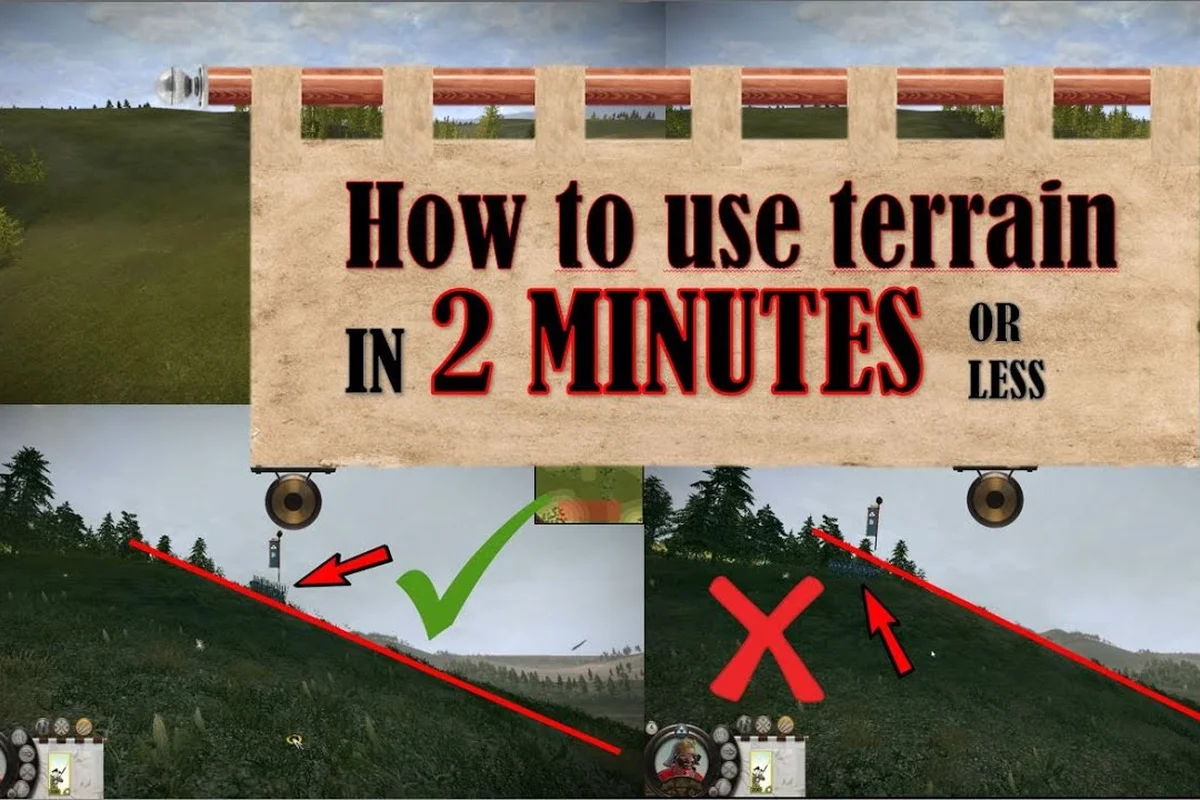
Total War: SHOGUN 2 Night Battle Guide: Ambushes & Weather
Fight smarter after dark with this Shogun 2 night battle guide covering ambush triggers, winter attrition, weather penalties, and reinforcement timing.